Wednesday, March 27, 2013

Save Mount Diablo


Limeridge in Concord. 
All photos were edited in Lightroom.  Adjustments to brightness and contrast. 

Monday, March 25, 2013

HRD Photo


At College Park, I took three photos, one regular, one over exposed, and one under exposed.  Then in Lightroom I used to HDR Software to stitch the three together and create a perfect image. 

Wednesday, March 6, 2013

City Life


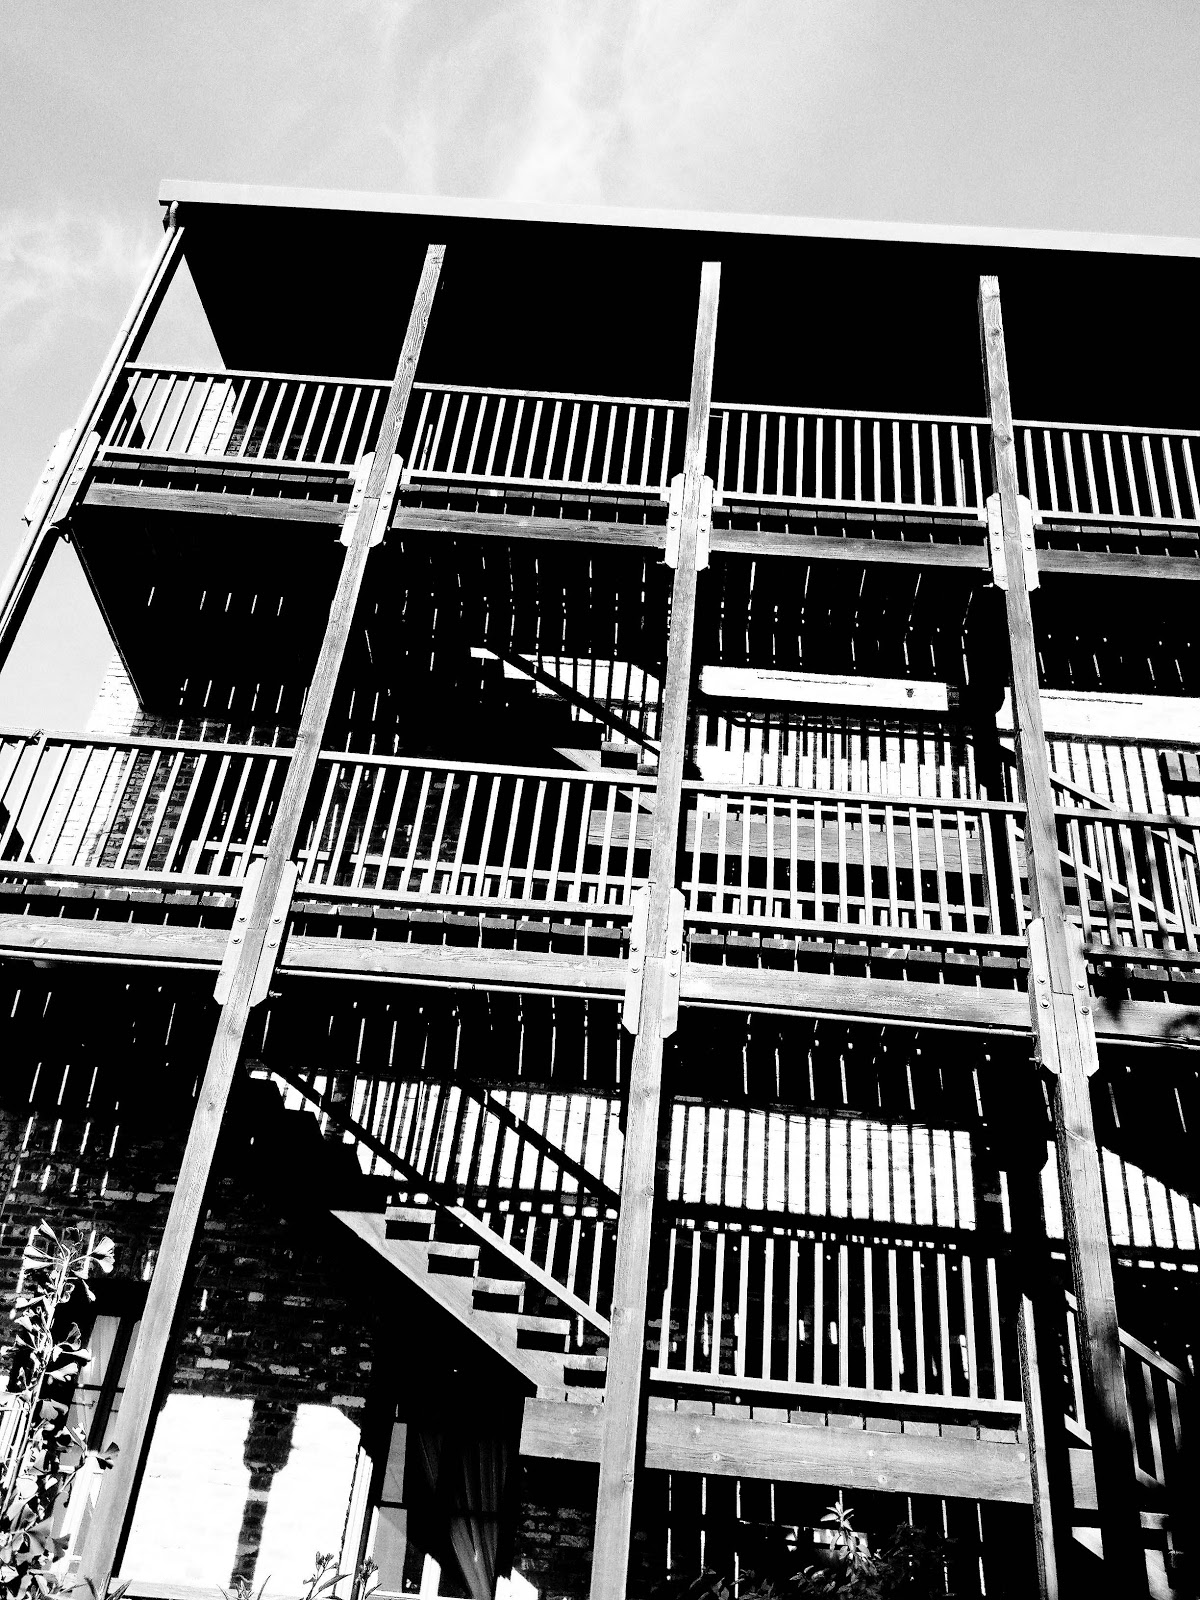
Each picture was taken in Berkeley, California.  Each picture was edited in Lightroom and has a black and white filter; some with vignette. 

Wednesday, February 20, 2013

Surrealism


In Photoshop, I layered these two photographs and turned down the opacity so you could see the house in the field with the tree. Then converted to black and white in Lightroom.


In Photoshop, I cut out the eyes of another picture and placed them on the balloons. Then converted to cyanotype vignette in Lightroom.


In Photoshop, I cut out the eyes and lips of another picture and placed them on the wooden gate. Then converted to vignette in Lightroom. 

Wednesday, December 12, 2012

Studio Project 1


Model: Alex Koot
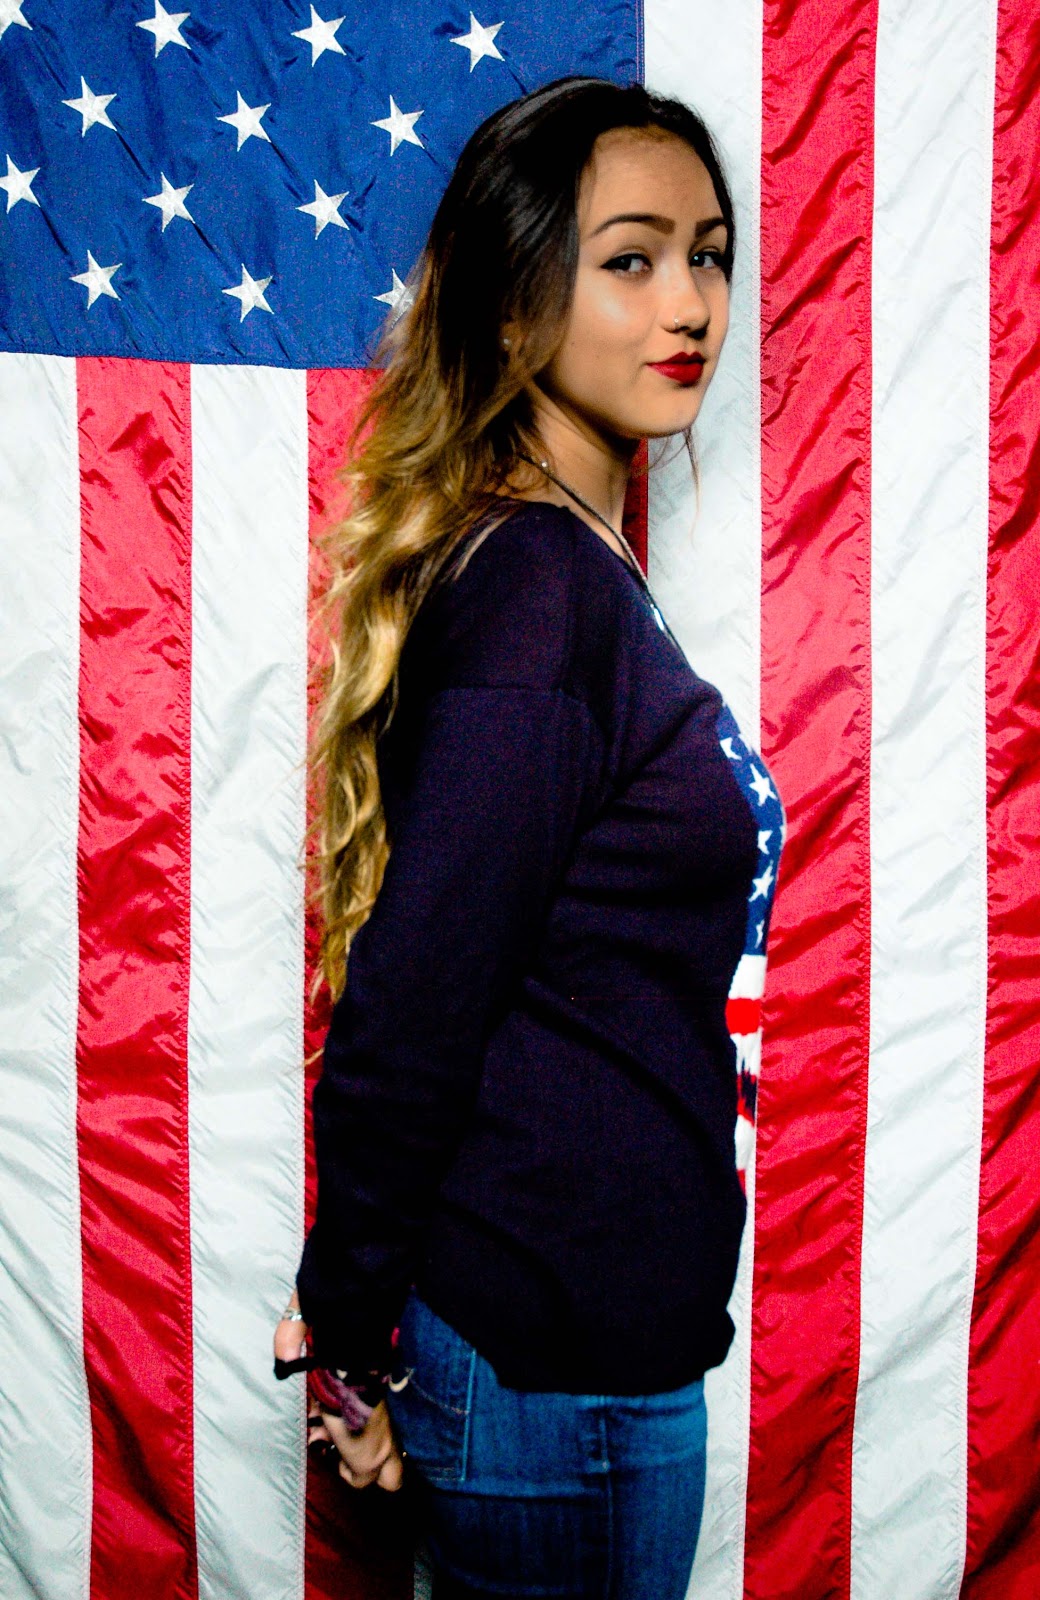
Lightroom: On every picture, the contrast and brightness was shot up so the back drop is vibrant. But that caused a white and too bright of a face. Then the brush tool was used to darken the face back. Clarity went all the way down to smooth the face, contrast was pushed down also to take the over-dramatic highlights off of the face, exposure and brightness were pushed down slightly so the face went back to skin color, but not too much or else it would look grainy and dark brown, and lastly, sharpness was pushed all the way up to finish it off. 

Monday, December 3, 2012

Perspective/Scale Project

 In this photo I placed the two action figures on piece of paper that looks like a track then edited the tape holding their feet down in Photoshop.

 In this photo I worked on the lighting and clarity in Bridge. 

 In this photo I adjusted the lighting and clarity in Bridge.

 In this photo I used Photoshop to cut out the apple in a completely separate photo and place it in this photo on top of the action figure's head so it look like the guy with the gun is shooting at the apple.

Friday, November 2, 2012

Shadow Project

In Lightroom: Used black and white low contrast filter, played with shadows and darks.

Lightroom to Photoshop. In Photoshop: Rulers-> inches, make image 5x7, new document- 14 inches width, select pic.-copy, 1 grid line on new doc. @ 7 inches, edit-> transform-> flip horizontal, image-> adjustment-> invert, copy second image/paste, flatten. 

In Lightroom: Used black and white low contrast filter, played with shadows, hightlights and lights. 

In Lightroom: Used black and white low contrast filter, played with shadows and darks. 

In Lightroom: Used black and white low contrast filter, played with shadows and darks.